
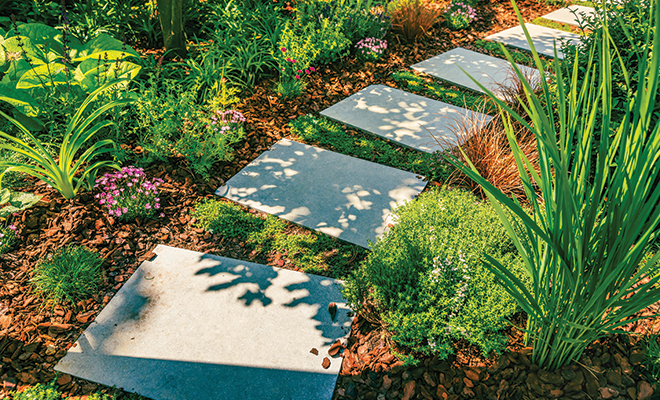
Creating a Beautiful Rain Garden
Spring is here, the time to put into action the plans you made during dreary winter months to beautify your garden and improve your landscape. Designing and creating a beautiful rain garden will accomplish both goals—and begin your spring fitness program to boot!
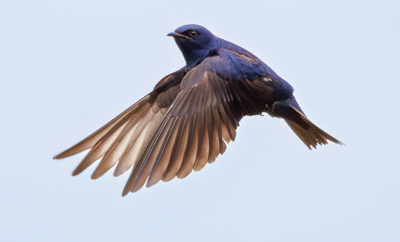
In today’s urban and suburban neighborhoods, rainwater gushes off roofs, through downspouts, across sidewalks and pavement, frequently carrying with it fertilizers and pesticides from lawns. This water may be diverted into storm drains and into our streams, rivers or bays. A rain garden can create a natural filter that will protect the environment from storm water runoff, provide valuable habitat for birds, butterflies and insects, and potentially help your landscape survive the next drought. Let’s get your project started.
Location
Experts advise placing the garden at least ten feet away from your home to divert water from the foundation. Don’t situate it over a septic field. Avoid areas where water already pools, as this indicates a lack of natural filtration; the goal is to encourage infiltration. A sunny, flat spot away from tree roots will make digging much easier. It’s also crucial to call 811, the national hotline for location of underground utilities, to verify that your selected site can be safely excavated.
Drainage Area and Soil Type
Measure the area that will drain water into your garden. This includes roof area, pavement or other areas of the yard that will drain into the rain garden. Multiply this area by the guideline percentages for the type of soil that you have. For example, if you have sandy soil that will collect water from 200 square feet, use a 20 percent factor; your rain garden should be about 40 square feet. For an area with loamy soil, use 30 to 35 percent as the factor, and for clay use 45 to 50 percent. If you are unsure of what type soil you have, a soil test done through your state’s Cooperative Extension Office can confirm this. If the test reveals sandy soil, you may need to amend the soil with water-absorbing compost and topsoil.
Lay the Garden Out
The garden should be approximately half as wide as it is long, with the long side perpendicular to the slope of the drainage area, facing upslope. Determine the depth of the garden, which depends on the slope of the ground. Optimal depth is between four and eight inches. Define the area with a string or paint; remember that curved, slightly irregular shapes are visually pleasing. To ensure that the base remains as level as possible, put stakes every five feet on the uphill side and corresponding stakes on the downhill side. Tie level strings between each one to act as guides to maintain correct depth through the area. Measure from the string to the ground to maintain a level base.
Dig and Fill
Sharpen your shovel and get to work! If the garden is on a steep incline, you’ll need to dig out more at the upper level of the garden. Working in sections, use the soil you remove to build a berm around three sides of the area, leaving open the side into which the water will flow. Continue digging and filling, using a tiller if needed to make the work easier. Add compost and other amendments as needed. The berm itself should be rounded on both sides and compacted well to prevent erosion.
Design Your Garden
Here’s the fun part! Plant selections should lean toward native species, perennials and include drought-tolerant plants. In general, the garden should contain three zones in concentric rings that correspond to the plants’ tolerance for standing water. The center section should contain plants that like wet feet, as the water will linger longer here. In the next ring, place the plants that can tolerate occasional standing water. The outermost ring is best for the species that prefer drier climates. Plant in drifts and multiples of three for impact. Small evergreen shrubs have good root systems for soaking up water and will provide longer seasonal interest, especially blooming shrubs. It’s better to use established plants rather than planting from seed and worrying about the seeds washing away. Your local garden shop or Extension Office experts can advise about the best selections for your USDA zone and soil conditions.
Polish It
Encourage grass growth at the upper portion of the rain garden to slow water entering the garden. Plant grass or ground cover on the berm to help keep it in place, and then apply a layer of protective mulch to keep weeds down. Heavier mulches such as pine straw or wood chips will also stay in place in the event of heavier rainfall before plant roots become established.
Now you can pour a cold beverage, relax and enjoy the results of your efforts!
Sources: bhg.com, raingardennetwork.com and thisoldhouse.com.


